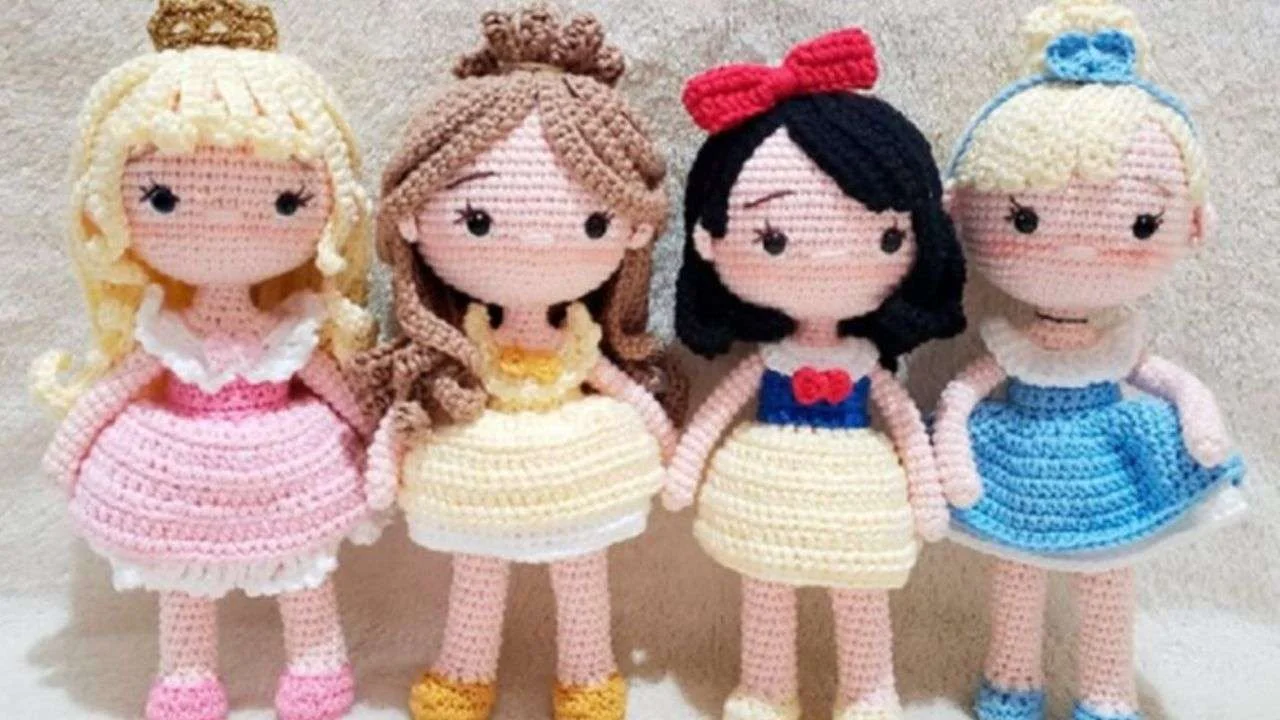
5 Tips for Making Perfect Amigurumis Every Single Time

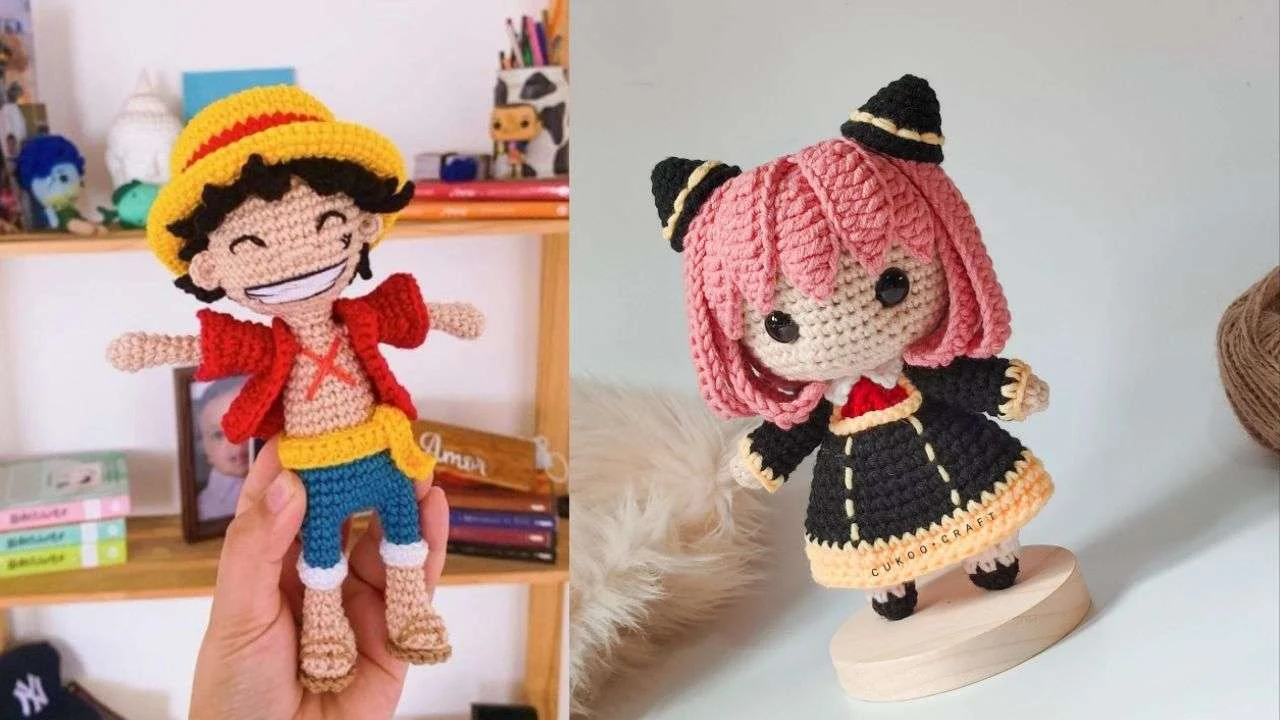
There’s a moment every crocheter knows well. You finish a piece, hold it up — and something is just off. The shape isn’t quite right. The proportions feel awkward. The face has a slightly unsettling expression you didn’t plan for.
- The Story Behind Amigurumi: How Cute Crochet Dolls Became a Worldwide Trend
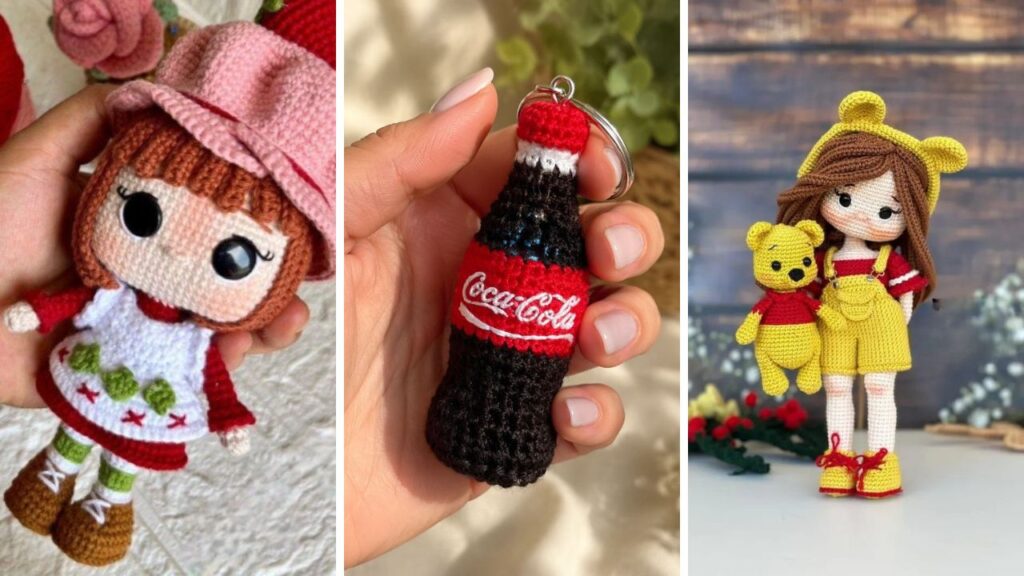
- Easy Amigurumi Doll Ideas That Are Trending Right Now
It doesn’t mean you lack talent. It means you’re missing a few key techniques that nobody thinks to mention in beginner tutorials. The good news: once you know them, everything clicks. Your pieces start looking polished, intentional and professional — not because you suddenly became a better crocheter, but because you started working smarter.
Here are the five tips that make the biggest difference.
👉 Get the 30 Crochet Doll Patterns now
Tip 1: Go Down a Hook Size (Yes, Really)
This is the single most impactful change most beginners can make — and almost nobody talks about it.
The yarn label recommends a hook size for a reason, but that reason is garments. For amigurumi, you want a tighter fabric that hides the stuffing and holds its shape. That means going one size smaller than the label suggests.
If your yarn recommends a 3.5mm hook, use a 3.0mm. If it says 3.0mm, try 2.5mm. The stitches will be tighter, the fabric denser, and the finished piece will look cleaner and more defined. The stuffing won’t peek through, the shape will be more precise, and the whole thing will feel more solid in your hands.
Yes, your hands might get tired a little faster at first. That goes away with practice. The improvement in your finished pieces is immediate and obvious.
Tip 2: Master Tension Before You Start Any Project
Inconsistent tension is the hidden culprit behind most amigurumi problems. If you pull the yarn with different force from stitch to stitch — or if your tension changes when you get tired, distracted or switch positions — the fabric gets uneven. Some sections look open and loose. Others look tight and puckered. The piece doesn’t hold its shape properly, and no amount of stuffing fixes it.
The solution is deliberate tension practice before you start a new project.
Spend ten minutes making a small swatch — just a flat circle or a few rows of single crochets — and focus entirely on keeping the same pressure on every single stitch. Find the hand position that feels sustainable for you. Notice when your grip tightens or loosens and correct it in the moment.
It sounds basic, but this ten-minute warmup changes everything about the consistency of your finished pieces.
Tip 3: Use Pins Before You Sew Anything Together
Assembling an amigurumi — attaching the head, limbs, ears and accessories to the body — is where a lot of beautifully made pieces fall apart. One arm ends up higher than the other. The head tilts slightly to the side. An ear sits too far back. And once you’ve sewn it in place, fixing it means unpicking stitches and starting the attachment over.
The simple solution is pinning everything before you sew a single stitch.
Place all your pieces against the body using straight pins or sewing pins to hold them temporarily. Step back and look at the piece from the front, from the side, from above. Check the symmetry. Adjust. Look again. Only when every element is exactly where you want it do you start sewing.
This one habit eliminates almost every assembly problem. It takes an extra three or four minutes and saves enormous frustration.
Tip 4: Place the Safety Eyes Before Closing the Head
This sounds obvious once you hear it — but it’s one of the most common mistakes in amigurumi, and it happens to beginners and experienced crafters alike.
Safety eyes need to be inserted while the head still has an opening. Once the head is closed and stuffed, you can’t get them in without cutting stitches. But more importantly — you can’t adjust them either.
Here’s the key: don’t actually lock the eyes in place until you’re completely happy with their position. Insert them, then step back and look at the face from a normal viewing distance. Eyes that look right when you’re holding the piece six inches from your face can look completely wrong from across the room.
Use straight pins to mark the eye positions first if you’re unsure. Check the spacing. Check the height. Check whether they feel centered and expressive. Then lock them in, one at a time, with firm pressure on the backing disc.
For pieces intended for babies or very young children, skip safety eyes entirely and embroider the eyes with black yarn instead. Safer, and with a soft, handmade look that many people actually prefer.
Tip 5: Stuff Gradually — Not All at Once at the End
Most beginners stuff their amigurumi at the very end, pushing as much filling as possible through the final opening before closing up. This almost always leads to problems: uneven lumps, a shape that doesn’t match the pattern, and a piece that looks overstuffed in some areas and flat in others.
The correct approach is to stuff as you go.
When you’re about halfway through closing a round piece, add your first layer of stuffing. Continue crocheting, adding more filling every few rounds. This lets you control the shape actively as it develops rather than trying to correct it after the fact.
The right amount of stuffing leaves the piece firm but not rigid. When you press it gently, it should give slightly — like a well-made pillow. If it feels hard, you’ve added too much. If it feels floppy or soft, add more before closing.
For pieces with longer limbs or narrow sections like arms and legs, use the eraser end of a pencil or a chopstick to push small amounts of stuffing into the tip first, then fill toward the opening. This prevents hollow ends and keeps the shape clean all the way through.
The One Thing That Ties All Five Tips Together
Technique matters. But technique only gets you so far.
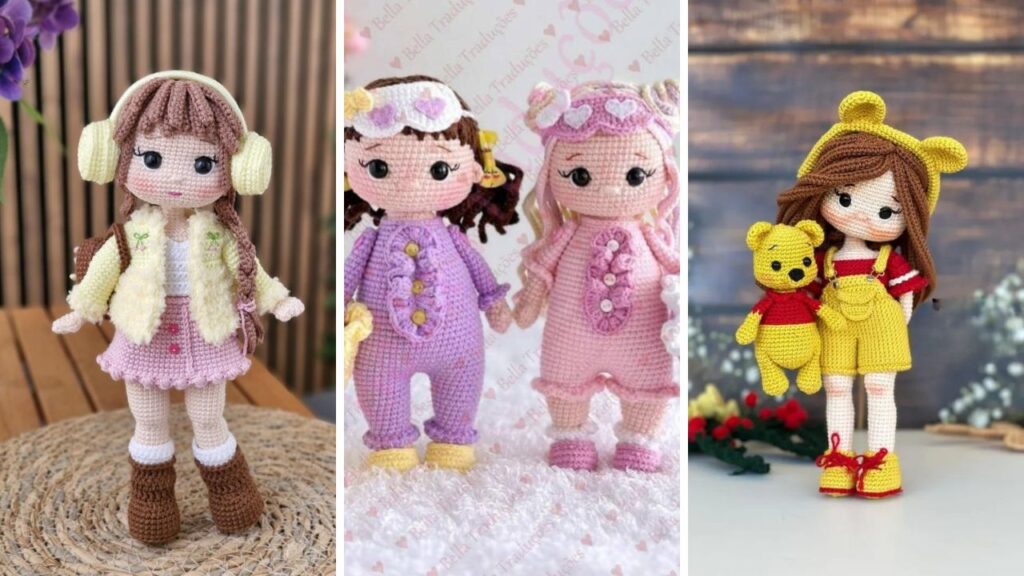
The other half of making great amigurumis — consistently, efficiently and in styles that people actually want to buy — is having patterns you can trust. A well-written pattern tells you not just what stitches to make, but how the piece is meant to look at every stage, where to place each element and how to construct the whole thing so it comes out right the first time.
Improvised tutorials and rough written instructions leave too much to guesswork. Professional patterns remove the uncertainty so you can focus on the craft itself.
If you want to expand your pattern library with something genuinely worth making, the Pack of 30 Crochet Doll Patterns brings together 30 complete, step-by-step doll designs in one place — clear stitch counts, full construction instructions and instant access from your phone or computer after purchase. No subscription, no monthly fees, 7-day money-back guarantee.
👉 Get the 30 Crochet Doll Patterns now
Final Thoughts
Making a great amigurumi isn’t about being more talented than anyone else. It’s about knowing which details actually matter and giving them the attention they deserve.
A smaller hook. Consistent tension. Pins before sewing. Eyes placed early. Stuffing added gradually. Five habits that take almost no extra time — and change everything about the quality of your finished pieces.
Start with one. Get comfortable with it. Add the next. By the time all five are part of how you work, you’ll look at your older pieces and barely recognize them.
👉 Access the full Pack of 30 Crochet Doll Patterns — step by step, instant access
Artigos Relacionados

Sobre o Autor

0 Comentários